In case you’re struggling to track down all of the objectives for this quest, we’ve written up this quick Ashes to Ashes quest guide to help you finish this up as quickly as possible.
Ashes to Ashes part 1: Go to terrace and investigate the location Ashes to Ashes part 2: Go back to terrace and find proof Ashes to Ashes part 3: Kill an Entity Hunter
Ashes to Ashes part 1: Go to terrace and investigate the location
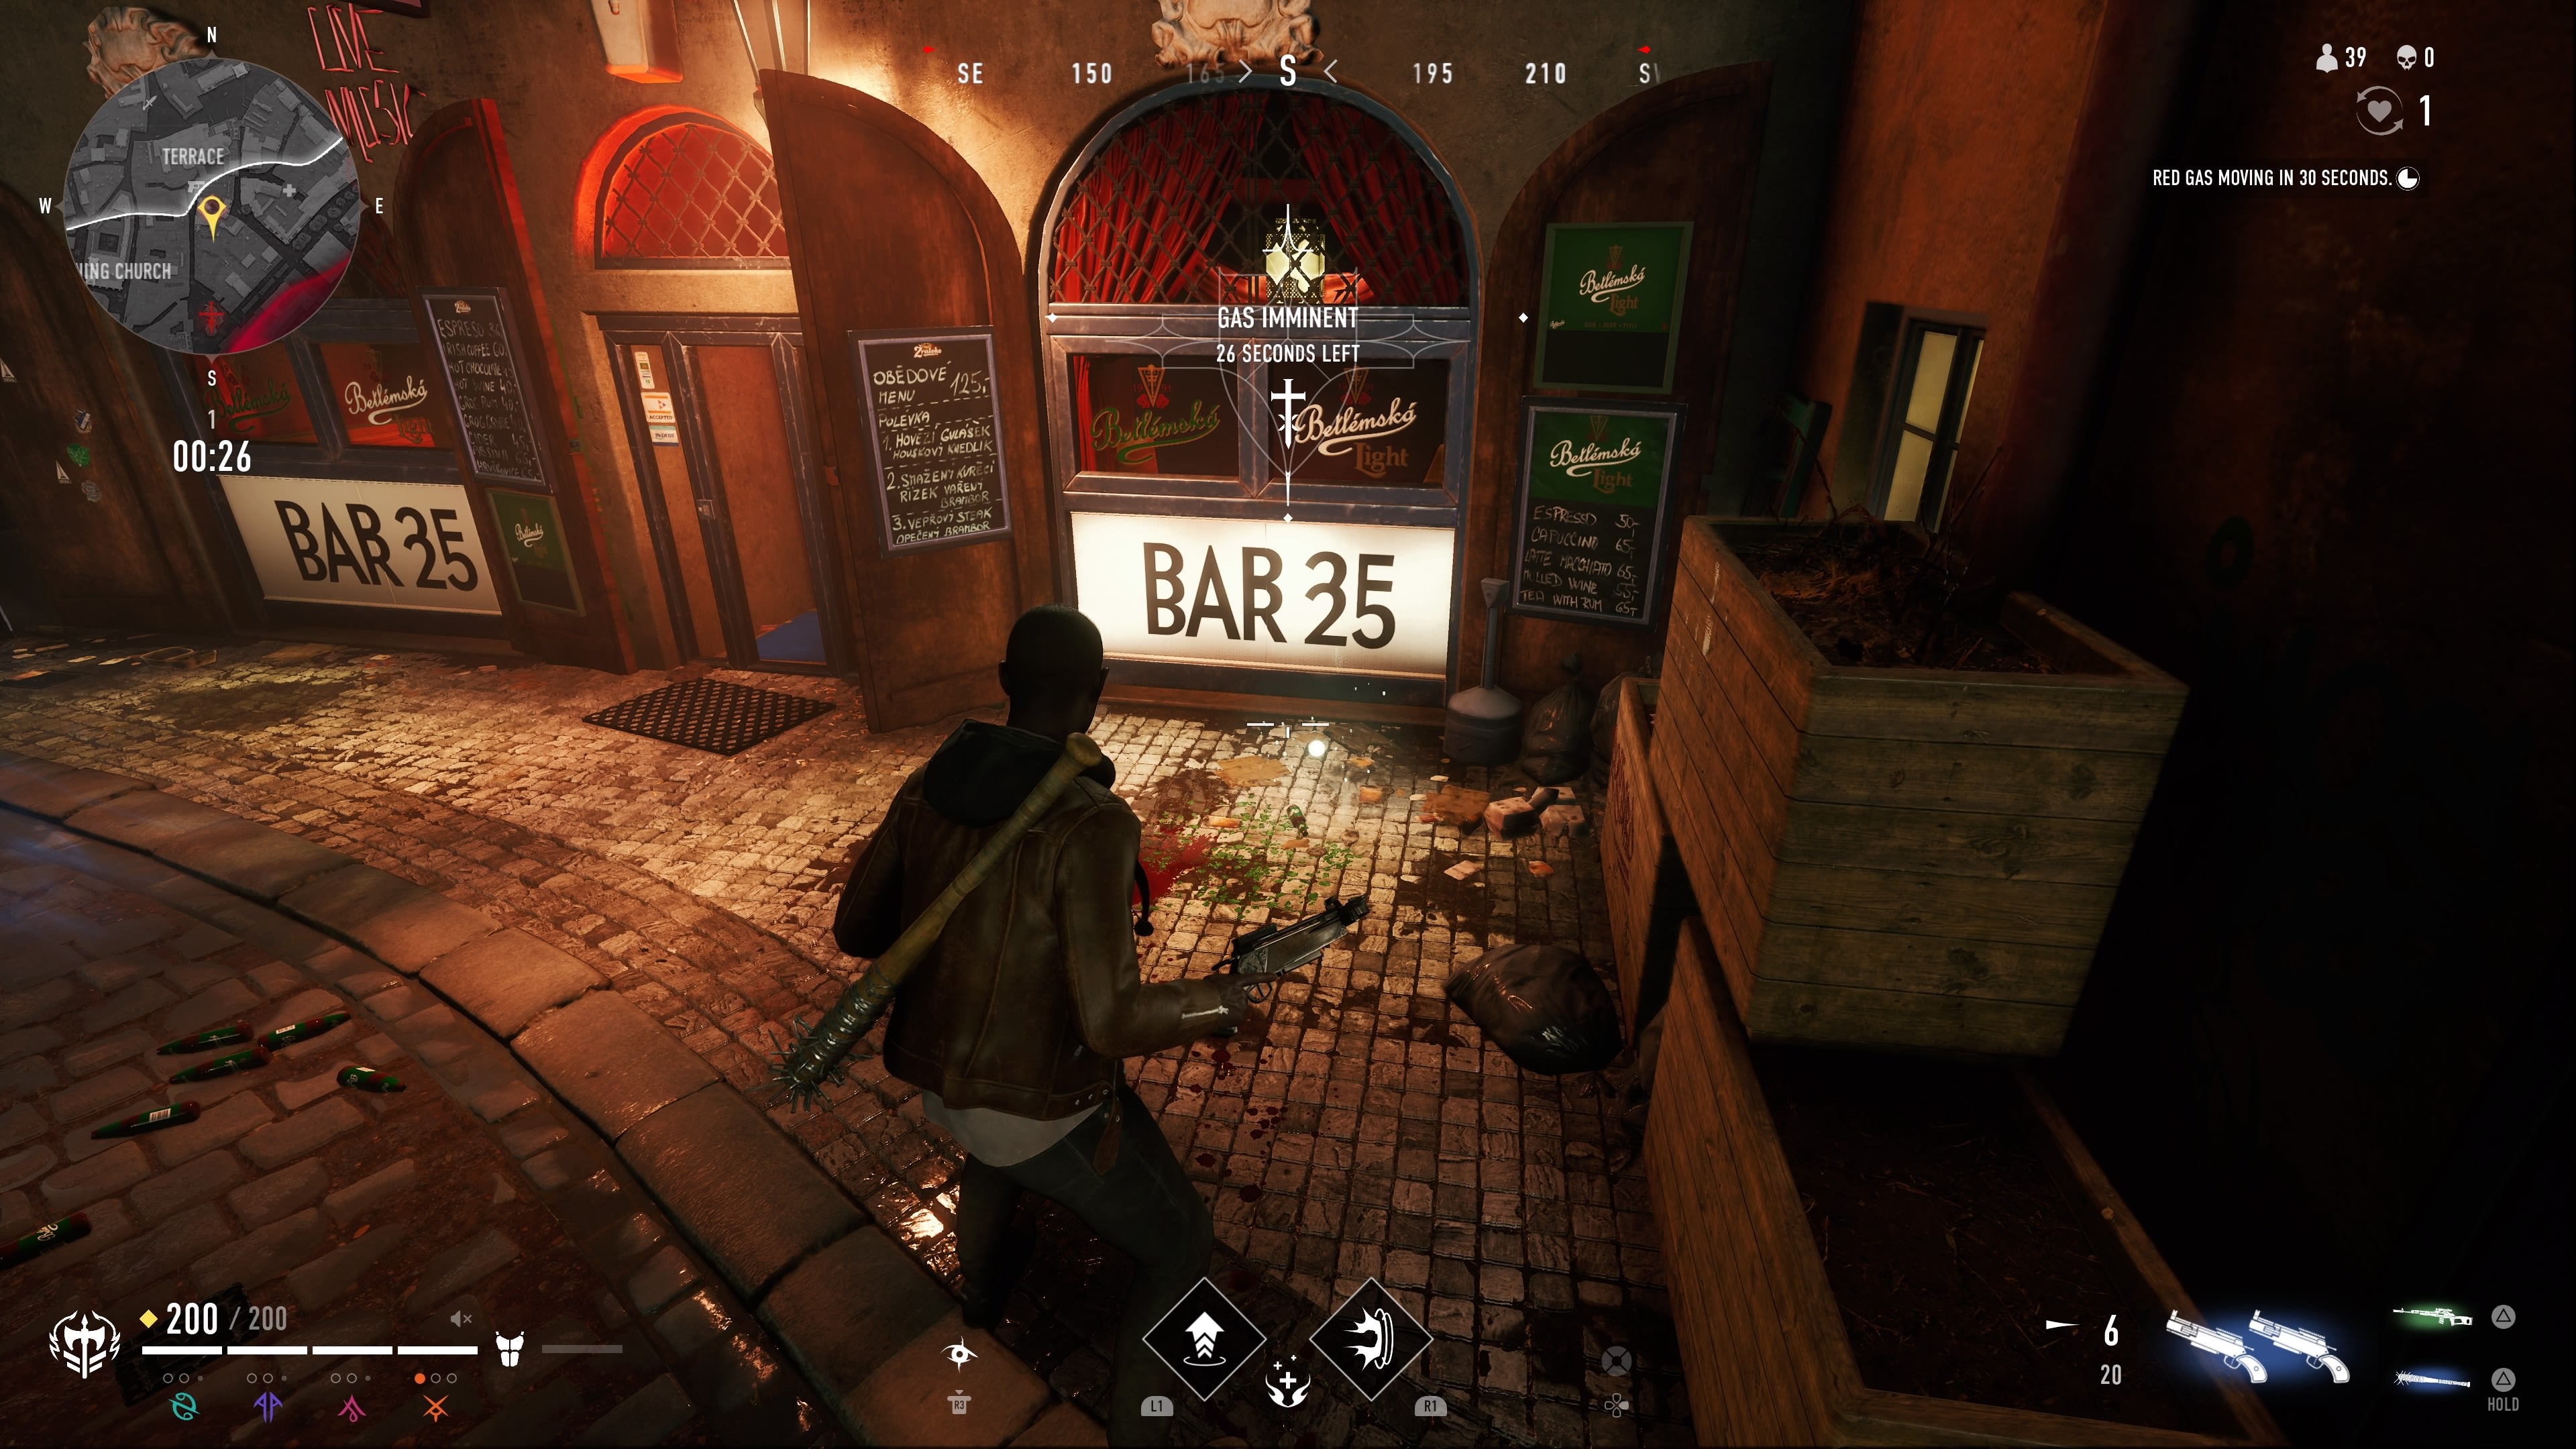
The first step requires you to travel to Maia’s Terrace. Spawn near the Terrace at the start of the game, and check your map / minimap for a red square that indicates the broad location of the quest item you need. Once near this red square, make your way into the alley south of the gun store. You’ll find the quest item on the street floor in front of a bar called Bar 25.
Ashes to Ashes part 2: Go back to terrace and find proof
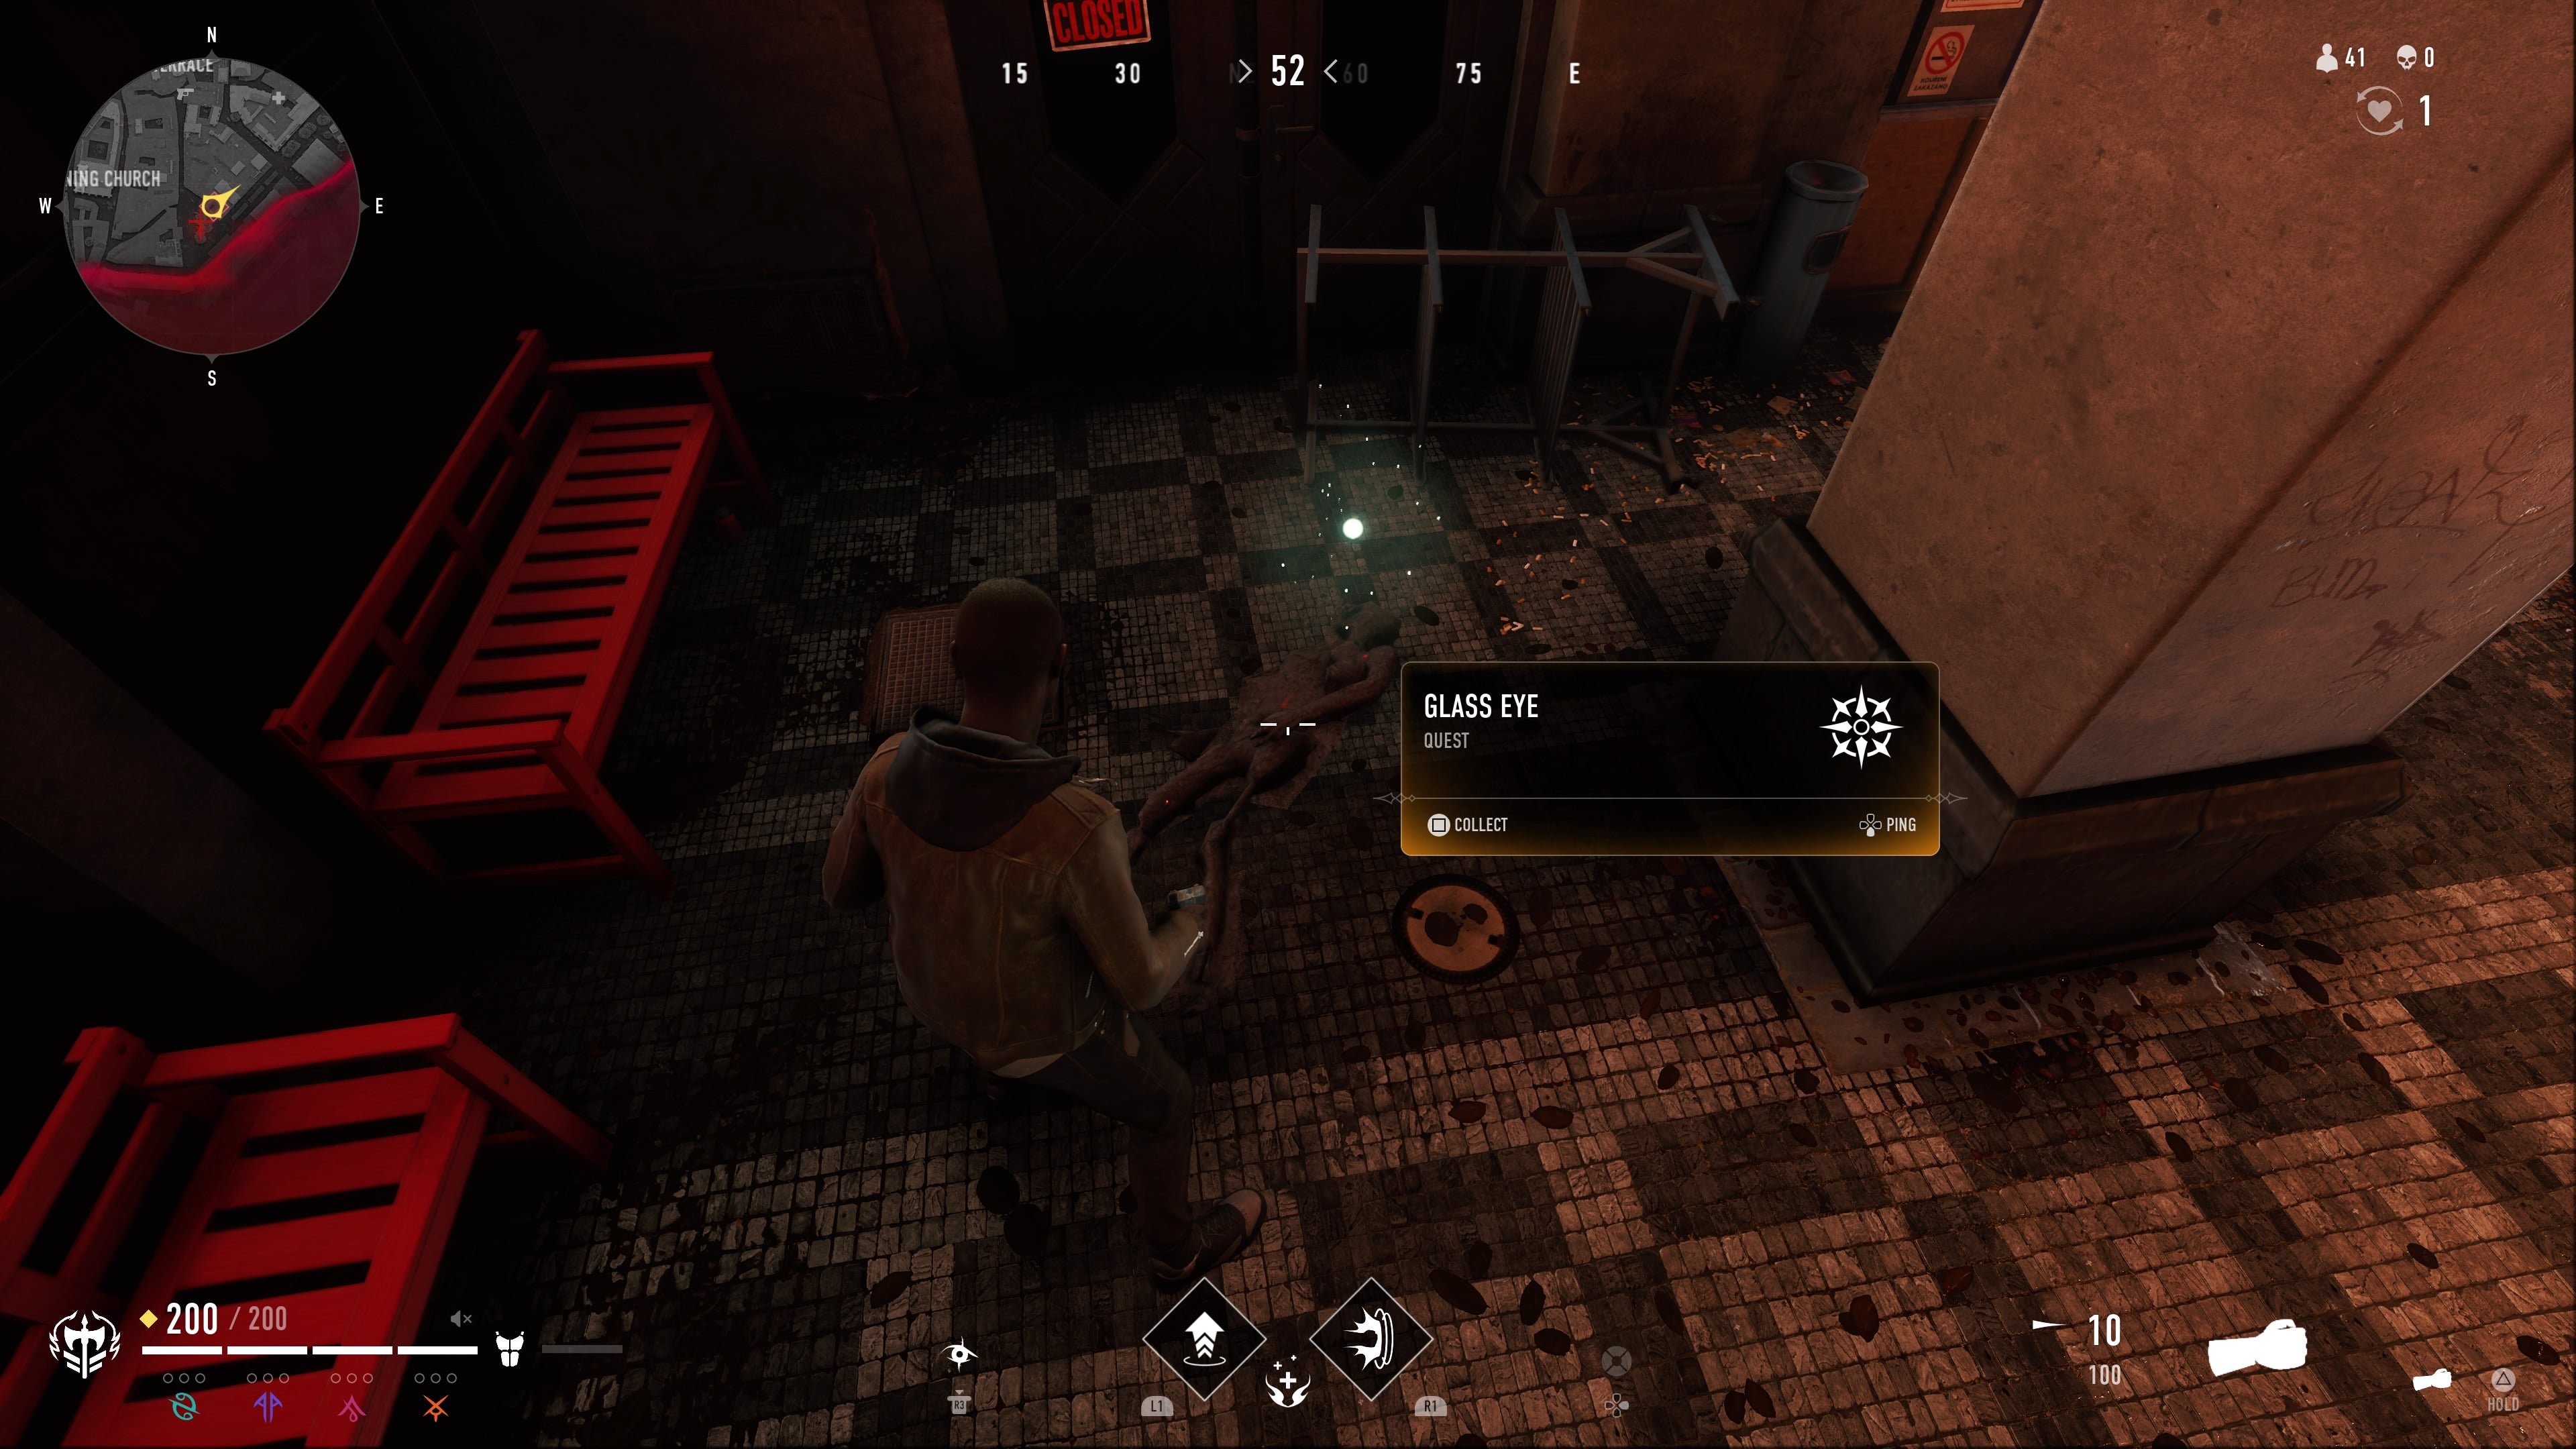
For the second step, you’ll want to head back to the Terrace and track down a corpse. Same as before, spawn close to this region of the map and head on over to the red square. You’ll find the proof on the street level, just outside of the Entity camp. If you’re struggling to find it, keep a look out for two bright red benches - the item is right next to them!
Ashes to Ashes part 3: Kill an Entity Hunter
This one is nice and simple. All you have to do is kill an Entity Hunter anywhere on the map. To find one, look for those red crosses on the map. There, you’ll find at least three hunters waiting for you, easily visible thanks to the red lasers that come off their guns. With the third part finished, you’ve completed Ashes to Ashes. For more quest walkthroughs and more guides, check out our beginner’s hub. Alternatively, if you’re curious about the technical side of the game, check out our interview: “In-your-face functionality and immersion” Why Sharkmob chose PS5 for Vampire Bloodhunt’s lead platform.

